How to Access and Compile the Earliest DOS Source Code Released by Microsoft
Introduction
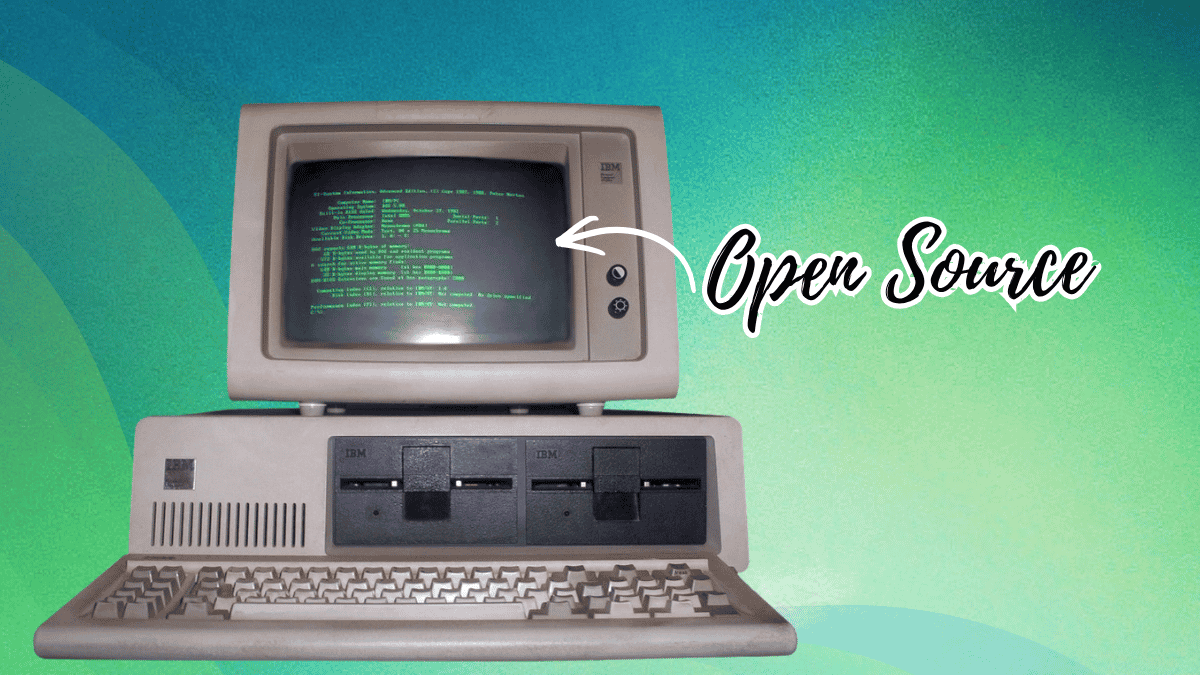
Microsoft's recent open-source release of the earliest known DOS source code marks a significant moment for retro computing enthusiasts and historians. This guide walks you through everything you need to explore, download, and compile the 86-DOS 1.00 kernel and related tools that launched the PC revolution. Whether you're a developer, hobbyist, or history buff, you can now run and modify the very code that powered IBM's first personal computer.
What You Need
- A computer with internet access and a web browser
- Git installed (optional but recommended)
- A copy of the ASM assembler from Seattle Computer Products (included in any 86-DOS or early MS-DOS release)
- An emulator like 86Box or DOSBox-X for running the compiled OS (or compatible hardware with vintage DOS)
- Basic familiarity with command-line interfaces and assembly language
Step-by-Step Guide
Step 1: Understand the Background and What’s Included
Before diving in, know that Microsoft released the source code under the MIT license on the 45th anniversary of 86-DOS 1.00. The repository contains:
- The 86-DOS 1.00 kernel
- Several development snapshots of PC-DOS 1.00
- Utilities like CHKDSK
- The assembler source used by Tim Paterson to write the OS
This code was painstakingly transcribed from physical assembler printouts by historians Yufeng Gao and Rich Cini. It is compilable, meaning you can recreate the original operating system.
Step 2: Visit the Official GitHub Repository
Go to the Microsoft GitHub organization and locate the MS-DOS repository (or search for "86-DOS" within Microsoft’s repos). The README file contains the official instructions and license details. Bookmark this page for reference.
Tip: Use the repo’s discussion section to ask questions if you get stuck.
Step 3: Download the Source Code
You can clone the repository using Git:
git clone https://github.com/microsoft/MS-DOS.gitAlternatively, download the ZIP archive from the GitHub interface. The source files are in assembly language (ASM) format, organized in subdirectories for each component.
Step 4: Obtain the Required Assembler
The original ASM assembler by Seattle Computer Products is needed to compile the code. You can extract it from any early DOS image (86-DOS or MS-DOS 1.x). Common methods:
- Mount a DOS disk image in an emulator and copy the
ASM.COMfile - Download a pre-compiled version from retro computing archives (ensure it matches the 8086 target)
Alternatively, you could use a modern cross-assembler like NASM or MASM, but the README specifically recommends the original ASM for compatibility.
Step 5: Set Up a Build Environment
You have two approaches:
- Emulated vintage environment: Use 86Box or DOSBox-X to run a pre-DOS environment (e.g., a copy of MS-DOS 1.25) and assemble the code natively.
- Cross-compilation on modern OS: Some community efforts provide scripts to compile using NASM targeting 16-bit real mode. Check the repo’s issues or wiki for updates.
For simplicity, set up an emulator with a bootable DOS disk and the source files transferred into a virtual floppy or hard disk image.
Step 6: Compile the Code
Follow the README instructions precisely. Typically, you run the ASM assembler on the kernel files (e.g., ASM DOS.ASM) to produce a COM or BIN image. Repeat for each utility. Then combine the output into a bootable disk image using a tool like Norton Disk Edit or a simple hex editor.
Common pitfalls: Ensure the assembler version matches the source format. Errors usually indicate missing includes or wrong segment definitions.
Step 7: Test the Compiled OS
Boot your emulator with the newly created disk image. You should see the familiar 86-DOS prompt (A> or similiar). Try running internal commands and utilities like CHKDSK. If it boots successfully, you’ve reproduced the very OS that launched Microsoft’s dominance!
Tips for Success
- Start with the emulated environment: It’s easier to debug assembly code in a faithful 8086 emulator than on real hardware.
- Check the community contributions: Other enthusiasts may have already created build scripts or patch sets. Search GitHub issues and forums like VCFed.
- Don’t be afraid to modify: The code is open source—try changing the boot message or adding a new feature. This is a hands-on history lesson.
- Preserve your work: Keep notes on what you did, as the build process is not fully automated.
- Explore related open-source releases: Microsoft has also open-sourced MS-DOS 4.0, 1.25, and 2.0. Your setup can likely compile those too.
With this guide, you’re ready to step back in time and experience the dawn of personal computing through its original source code.