How to Use Drone-Mounted Radar to Find Water Drilling Sites on Mars
Introduction
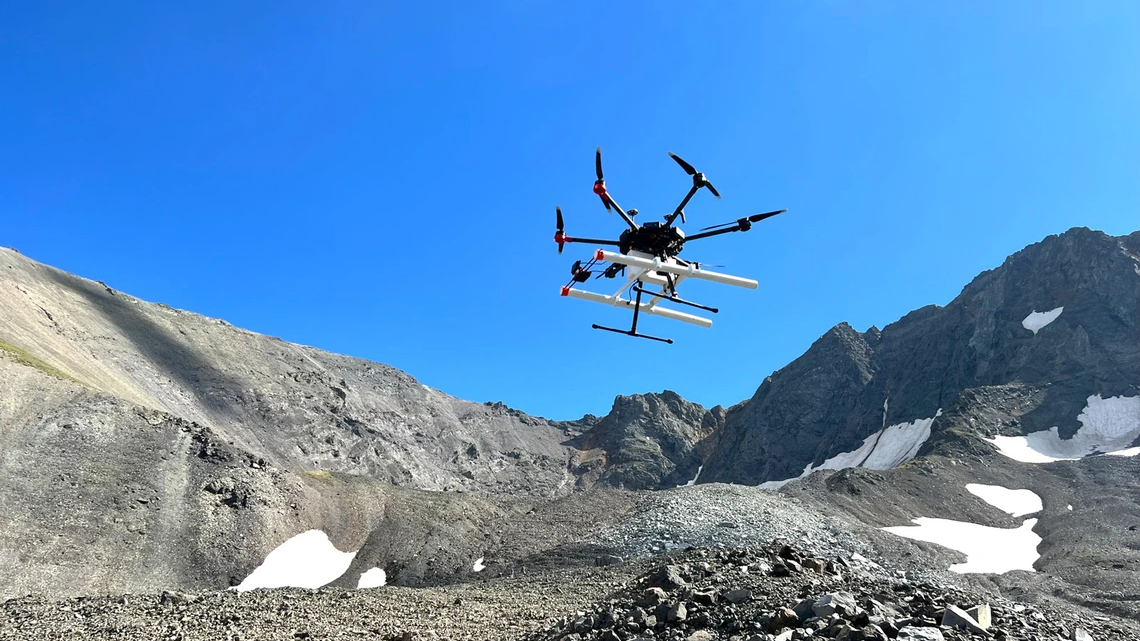
Water is the key to future human exploration of Mars. But drilling for water on the Red Planet is tricky: you need to know exactly where to dig under the surface. Scientists have developed a clever technique using drone-mounted radar on Earth to map buried ice in glaciers. This same technology could guide Martian rovers and landers to the perfect drilling spots. This guide walks you through the step-by-step process—from equipping drones to analyzing radar data for choosing drilling locations on Mars.

What You Need
- Drone – A quadcopter or fixed-wing UAV capable of carrying a radar payload (like a DJI Matrice or custom drone).
- Ground-Penetrating Radar (GPR) – Lightweight radar system, e.g., a pulsed or step-frequency radar that can penetrate ice or Martian regolith.
- GPS and IMU – For accurate positioning and orientation of radar data.
- Data logger – Onboard computer to record radar returns.
- Post-processing software – Such as MATLAB, Python with radar libraries, or commercial GPR processing tools.
- Geographic Information System (GIS) – To map radar results onto terrain models.
- Test site – A glacier or ice-rich area on Earth (e.g., Greenland, Iceland, Antarctic dry valleys) as a Mars analog.
- Drill or excavation equipment – To verify interpreted ice depth and purity.
Step-by-Step Guide
Step 1: Select a Suitable Analog Site
Choose an Earth location that simulates Martian conditions: cold, dry, with buried ice or permafrost. Glaciers in polar regions or high-altitude deserts (e.g., the Andes) work well. The site should have known buried ice features for testing the radar’s detection capability.
Step 2: Configure the Drone & Radar System
Mount the ground-penetrating radar on the drone. Ensure the radar’s frequency is appropriate—lower frequencies (e.g., 50–100 MHz) penetrate deeper into ice or rock, while higher frequencies (e.g., 200–500 MHz) give better resolution for shallow features. Use the GPS/IMU to time-stamp each radar pulse, creating a georeferenced profile.
Step 3: Plan the Flight Path
Fly parallel transects at a consistent altitude (e.g., 10–30 meters above ground). Overlap transects by 50% to ensure full coverage. Program the drone to maintain altitude automatically, especially over uneven glacier surfaces. Mark waypoints for start and end of each line.
Step 4: Collect Radar Data
Launch the drone and activate the radar. The radar continuously emits pulses into the ground; reflections from buried ice layers, rock, and sediment are recorded. Monitor data quality in real-time via telemetry. Each flight should cover 5–10 square kilometers to build a detailed subsurface map.
Step 5: Process the Radar Returns
After landing, download the raw radar data. Apply signal processing steps: remove background noise, apply gain to amplify deep reflections, and migrate data to correct for hyperbolic reflections from point objects. Convert the two-way travel time to depth using an estimated wave velocity (e.g., 0.168 m/ns for ice). Software like ReflexW or MATLAB can perform these steps.
Step 6: Interpret the Subsurface Structure
Identify bright reflectors that correspond to buried ice layers. Ice usually shows a sharp, strong reflection at its top surface (due to dielectric contrast with overlying debris) and a weaker reflection at the bottom (where ice meets rock). Compare radar signatures with known Earth analogs—like buried glacial ice in Antarctica.
Step 7: Map Ice Thickness & Geometry
Digitize the top and bottom reflections across all transects. Use GIS software to interpolate a 3D surface of the ice body. This gives you a contour map of ice depth—shallow areas (5–20 m deep) are ideal for drilling on Mars because surface access is easier.
Step 8: Validate with Ground Truth
Drill or excavate a test hole at a spot predicted to have ice by the radar. Measure the actual depth, thickness, and purity (e.g., clean ice versus dirty ice). Adjust your radar velocity model if necessary. This step builds confidence that the method works for Mars.
Step 9: Translate to Mars Mission Planning
Use the same radar technique on a Mars rover or lander. A drone can’t fly in Mars’ thin atmosphere, but a rover can carry a similar ground-penetrating radar (like the RIMFAX instrument on the Perseverance rover). Analyze radar data from orbiters (e.g., SHARAD on Mars Reconnaissance Orbiter) to identify potential ice-rich regions, then have the rover’s radar zoom in.
Step 10: Select Drilling Coordinates
Combine all data: radar profiles indicate where the top of ice is close to the surface (less than 10 m deep) and where the ice is thick (e.g., >100 m). Prioritize sites with minimal rocky overburden. Transmit these coordinates to a future Mars sample return or drilling mission. The drone-radar on Earth has proven that this approach reliably finds water.
Tips for Success
- Test in extreme Mars analog environments – Very dry, cold, and high-radiation areas help validate radar performance.
- Use dual frequencies – A low-frequency radar for deep penetration and a high-frequency one for high-resolution shallow mapping.
- Calibrate with borehole data – On Earth, you can drill to confirm. For Mars, rely on orbital radar calibration or bring a calibration reflector.
- Automate data processing – Machine learning can accelerate identifying ice signatures from radar data.
- Consider terrain hazards – Avoid steep slopes or loose regolith that may cause drone crashes or rover tipping.
- Integrate with other instruments – Combine radar with neutron spectrometers (to detect hydrogen) and thermal imagers for best results.
- Plan for limited data return – Mars missions have bandwidth constraints so pre-process data on the rover to send only high-value results.